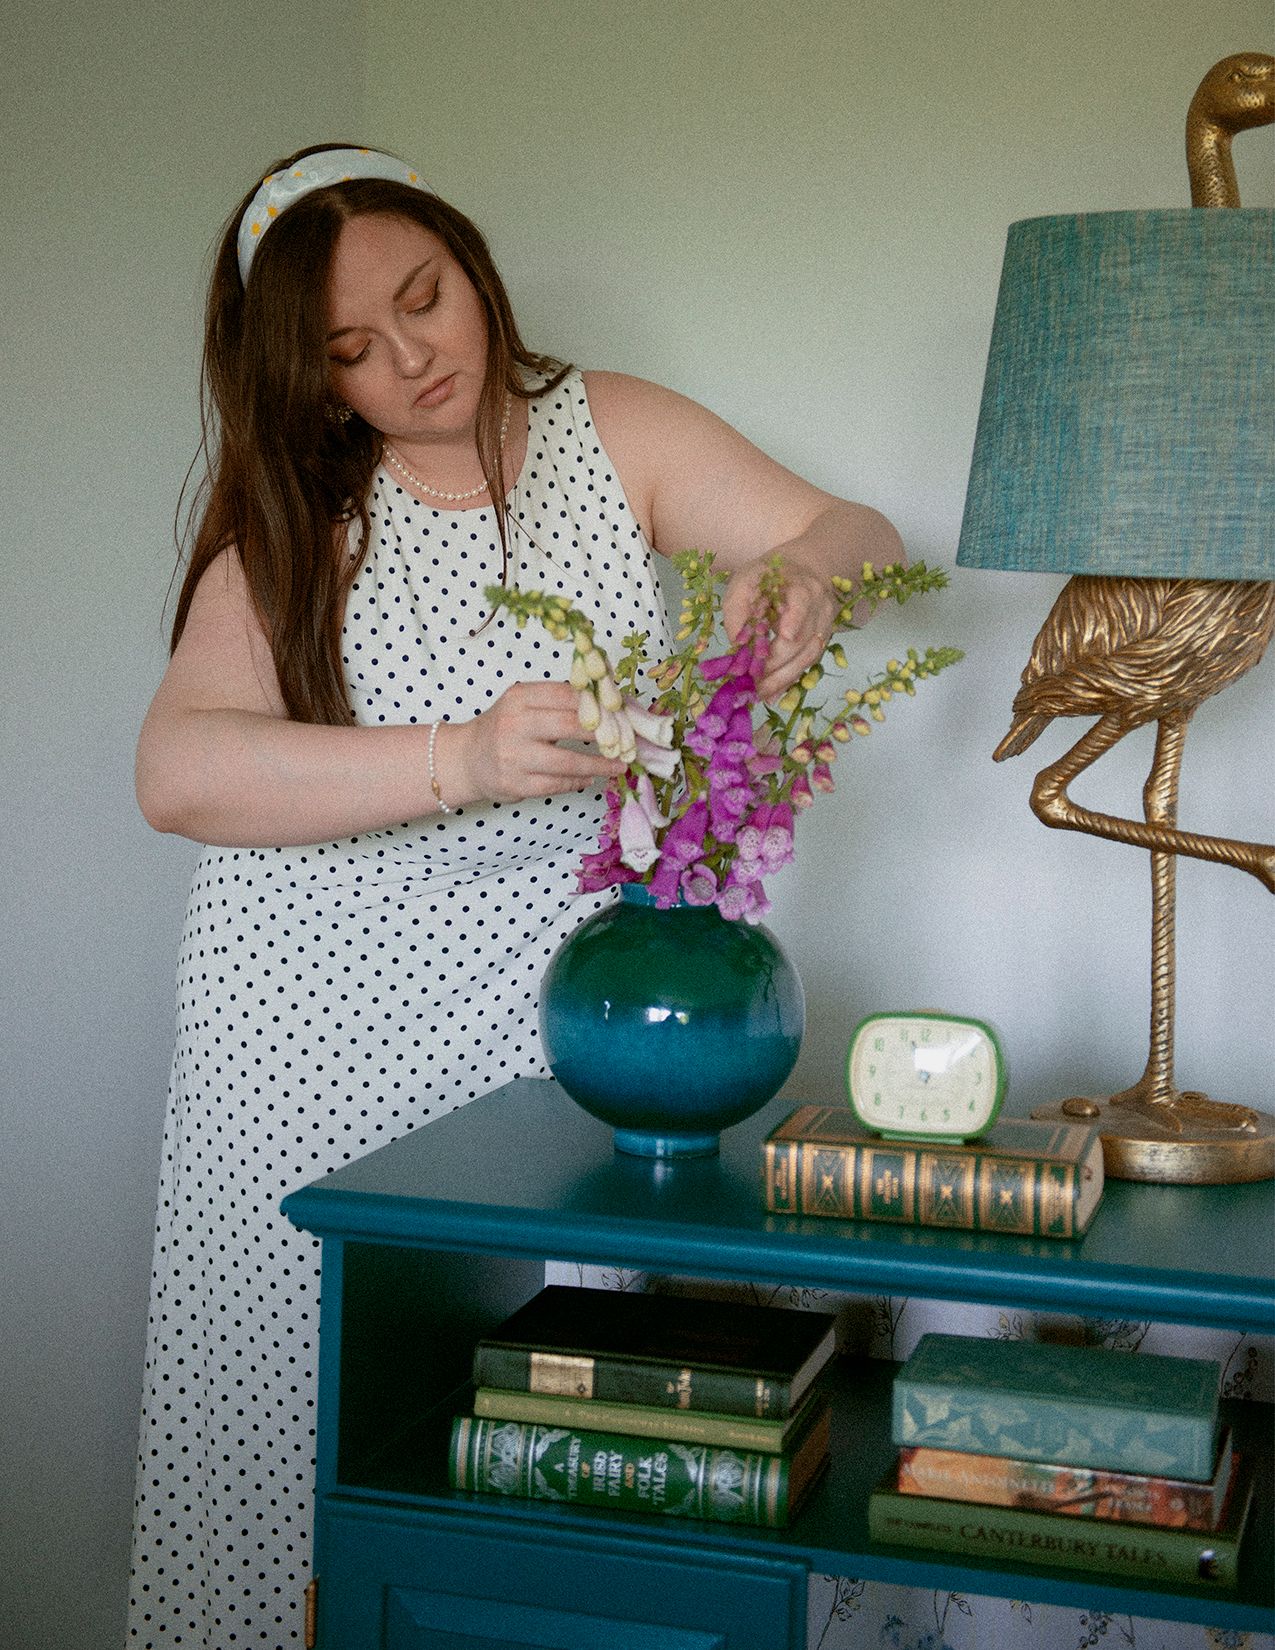
My first ever upcycle was a whole situation. I laughed at myself, I cried a little, I threw a tool in frustration, but overall it was so much fun. I’ve already started my second project (a desk I plan to sell that I’m converting to a vanity) and I’m just excited to continually improve.
By all means I am no pro here. Again, this was baby’s first upcycle. I have no idea what I’m doing and the best I can do is relay my experience with zero expert advice. Lol.
I want to walk through the process step by step so you can understand the cost involved, the process and have some general knowledge if you’re planning your own project. Also, I did not sell this initial piece. It was a test piece for practice and there are lots of problems and imperfections if you look close. It ended up being a gift for a friend who’s non-judgmental about my shoddy craftsmanship.
Let’s start by doing a price breakdown and then I’ll go through each step.
Table: $15 from Facebook Marketplace
Paint: free (it was leftover Benjamin Moore sample paint from the kitchen remodel, but I’ll tell you how to find cheap paint)
Gold spray paint: $12.54 from Home Depot
Backboard: $5 from Home Depot
Wallpaper: $9.98 from Amazon
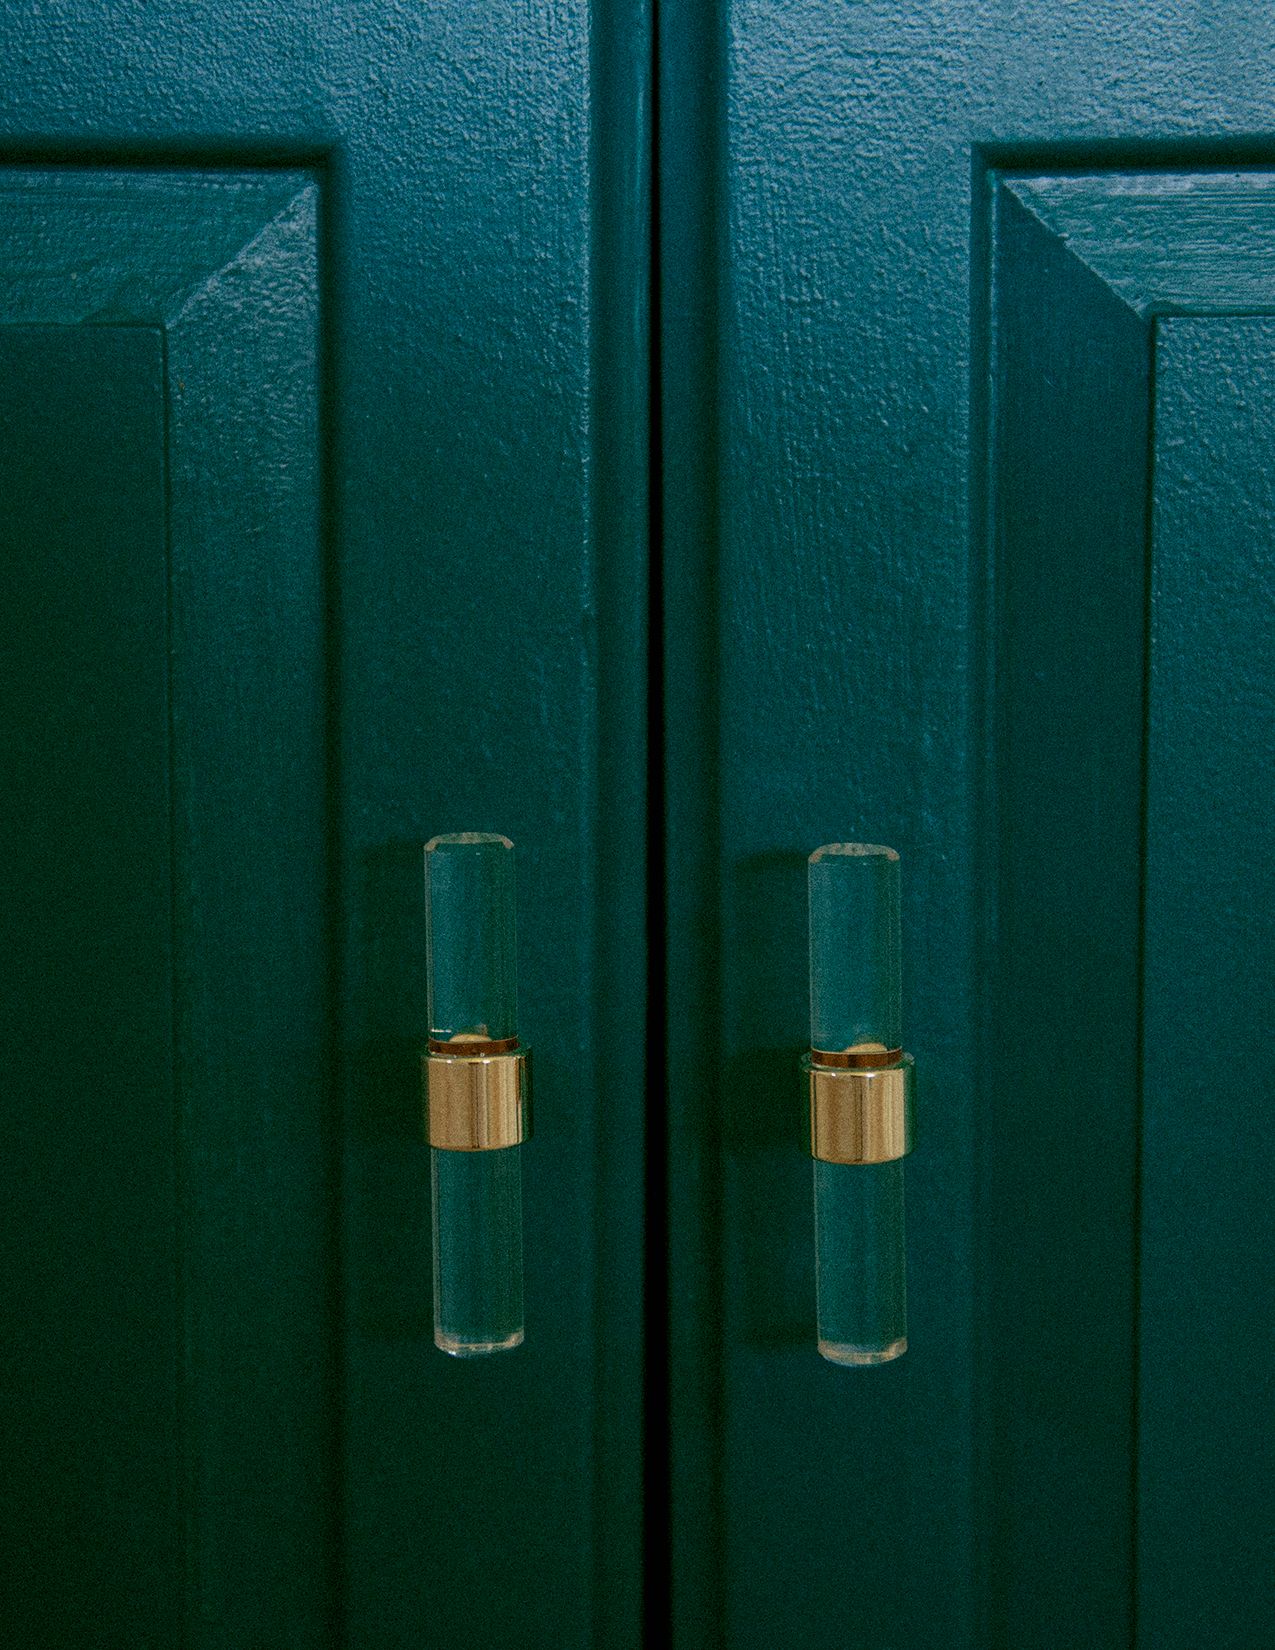
Knobs: $10.99 from Amazon
Legs: $24.95 from Amazon
Total: $78.46

I can never know for sure, but even with the imperfections Dave thinks I could have sold this piece for $250, so that would have been a $171.04 profit. This took me soooooo much time though. I probably would have made minimum wage there, but at least it was fun! I also know I’ll be much faster as I learn how to do things.
Let’s break down the process.
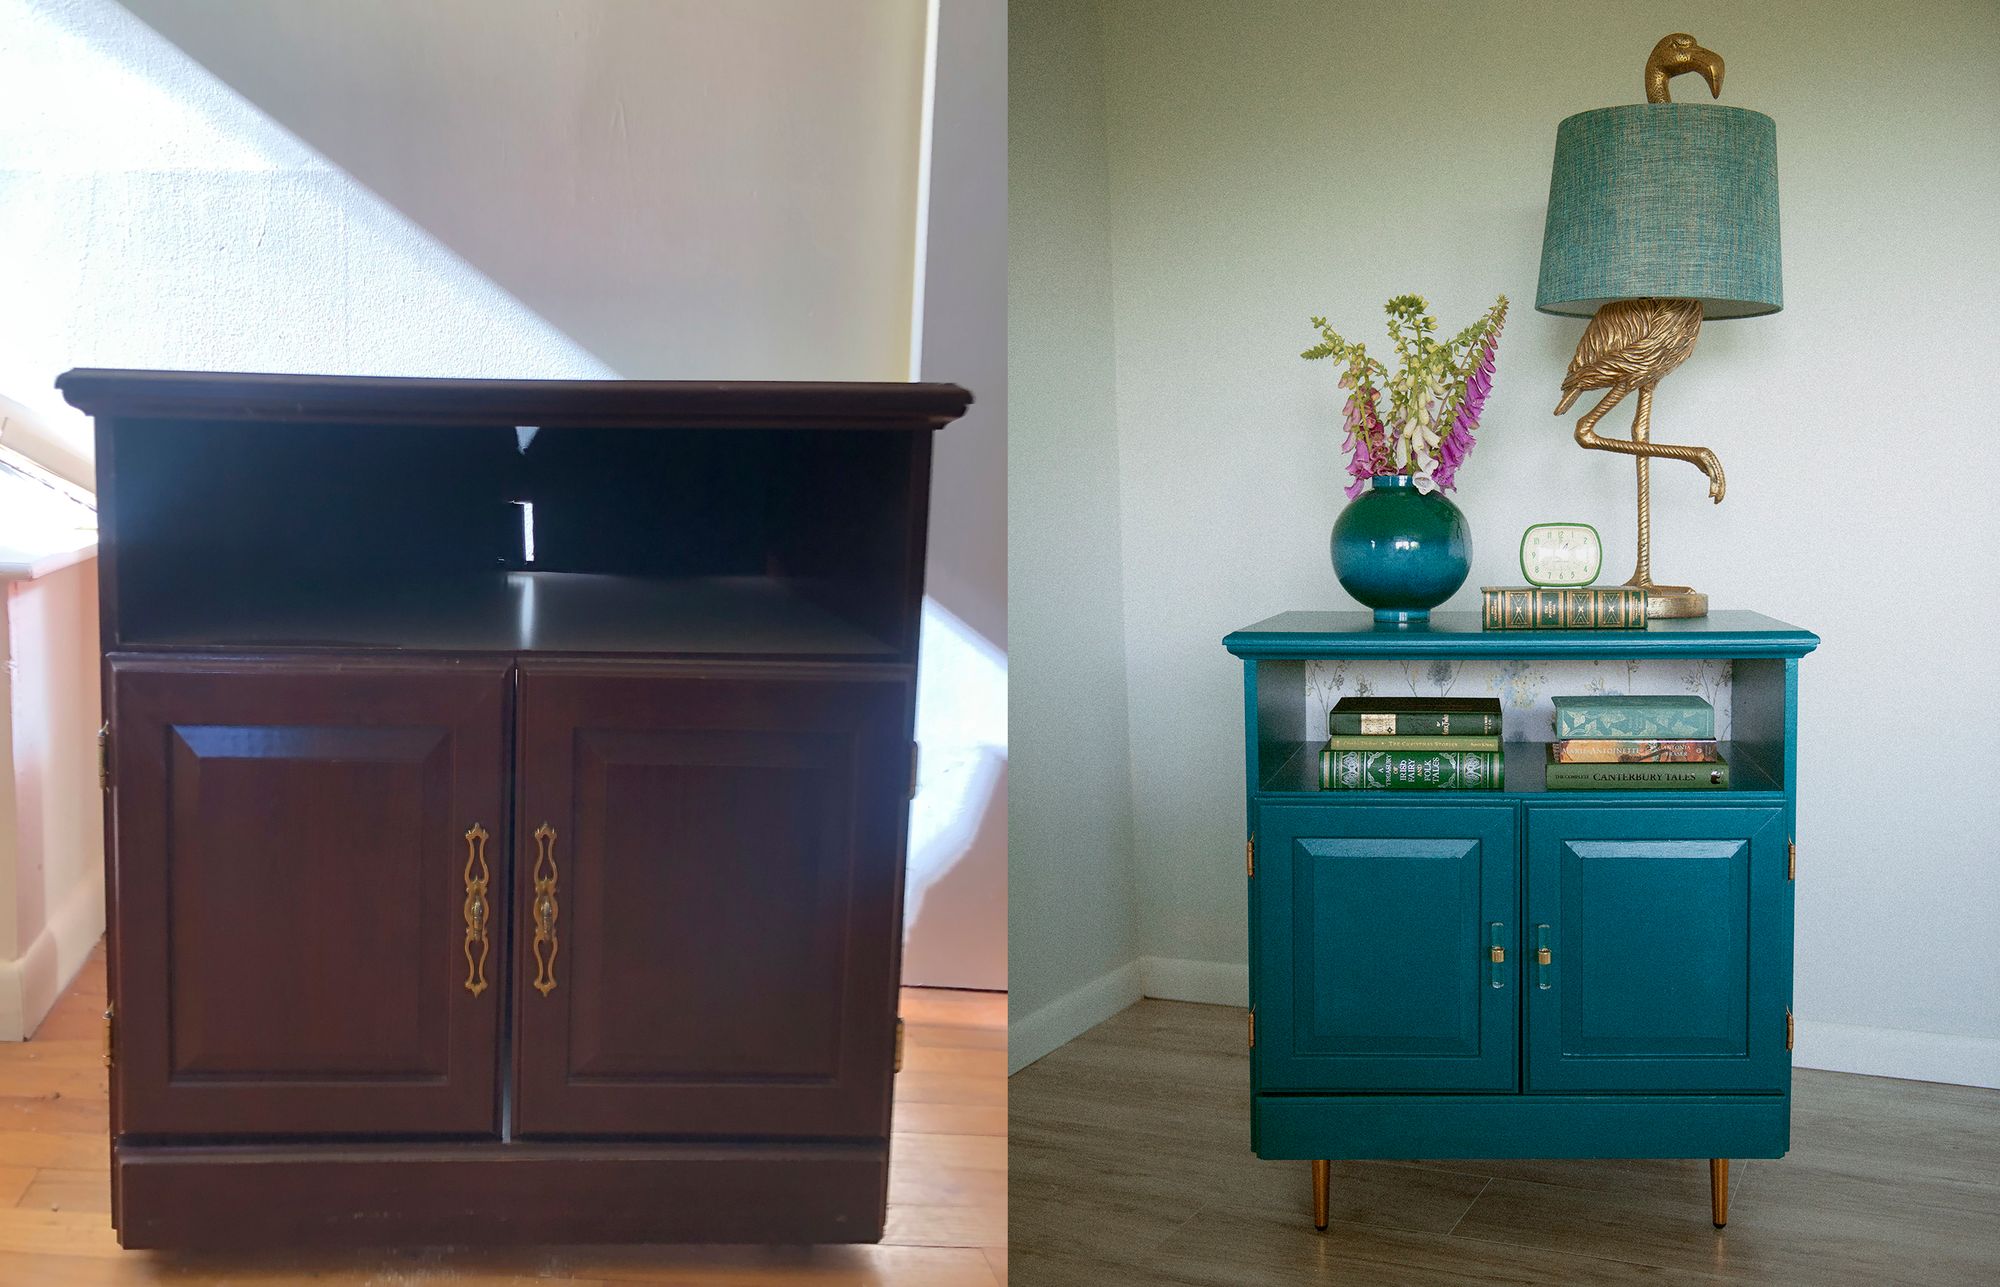
I needed to start with some furniture, right? I found this end table on Facebook Marketplace and paid $15, which feels like I overpaid to be honest. The doors don’t close right (I’m not seasoned enough to fix that), it’s MDF and I had to replace the board on the back because there was a huge hole in the original one. Now that I realize I can find better pieces at auction for cheaper or even find things for free, I wouldn’t do that again. Not that the expense was so big. I just know I can get cheaper.
Then I had to gather materials. I was lucky that I already had leftover paint that happened to be just the prettiest color, but I also learned about something recently: the Home Depot “oops” paint. You see, sometimes a bucket of paint mixing goes arry and they can’t sell the paint because the color isn’t quite right. All of that paint goes in the discard and you can buy it for $9 a gallon. That is so cheap. Of course you can’t choose specific colors, but if the intention is to sell, then who cares?! I’ve since bought a few in preparation for upcoming projects. I also bought gold spray paint to make the hardware golden.
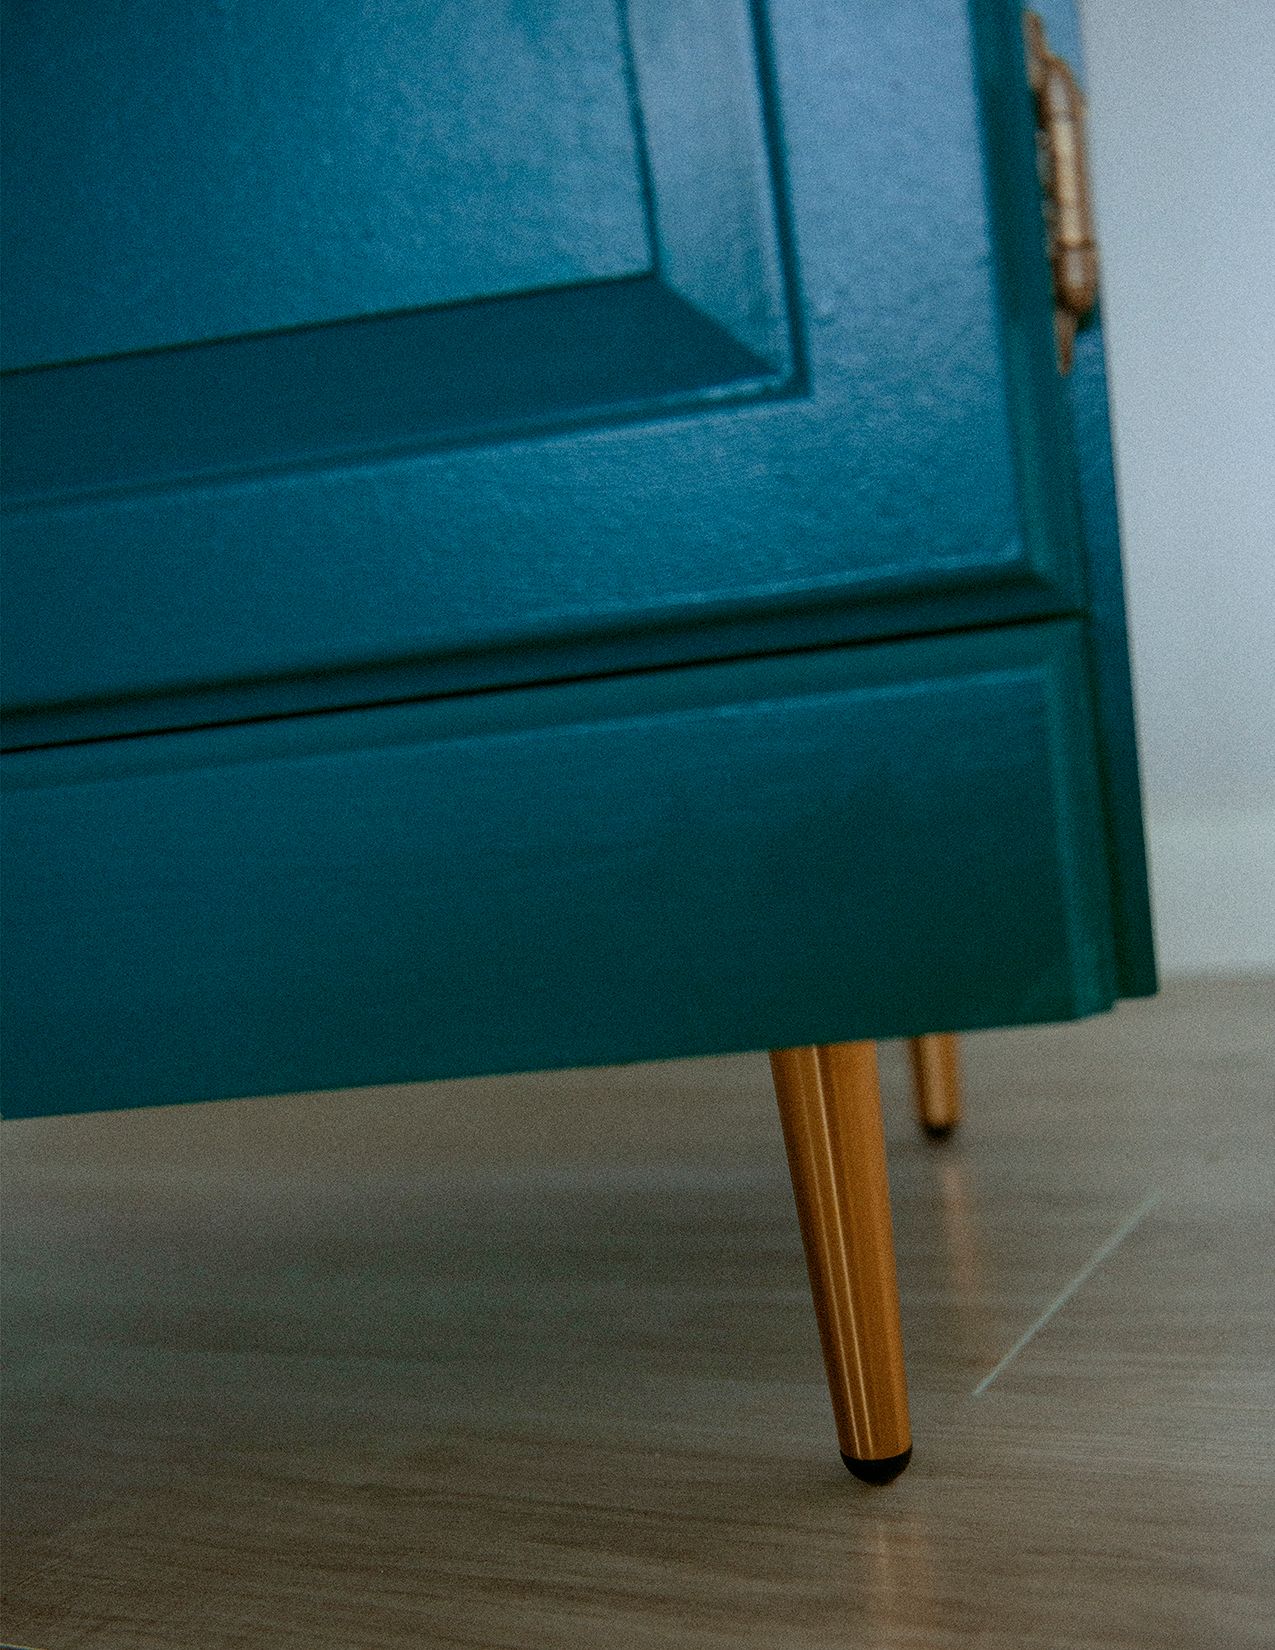
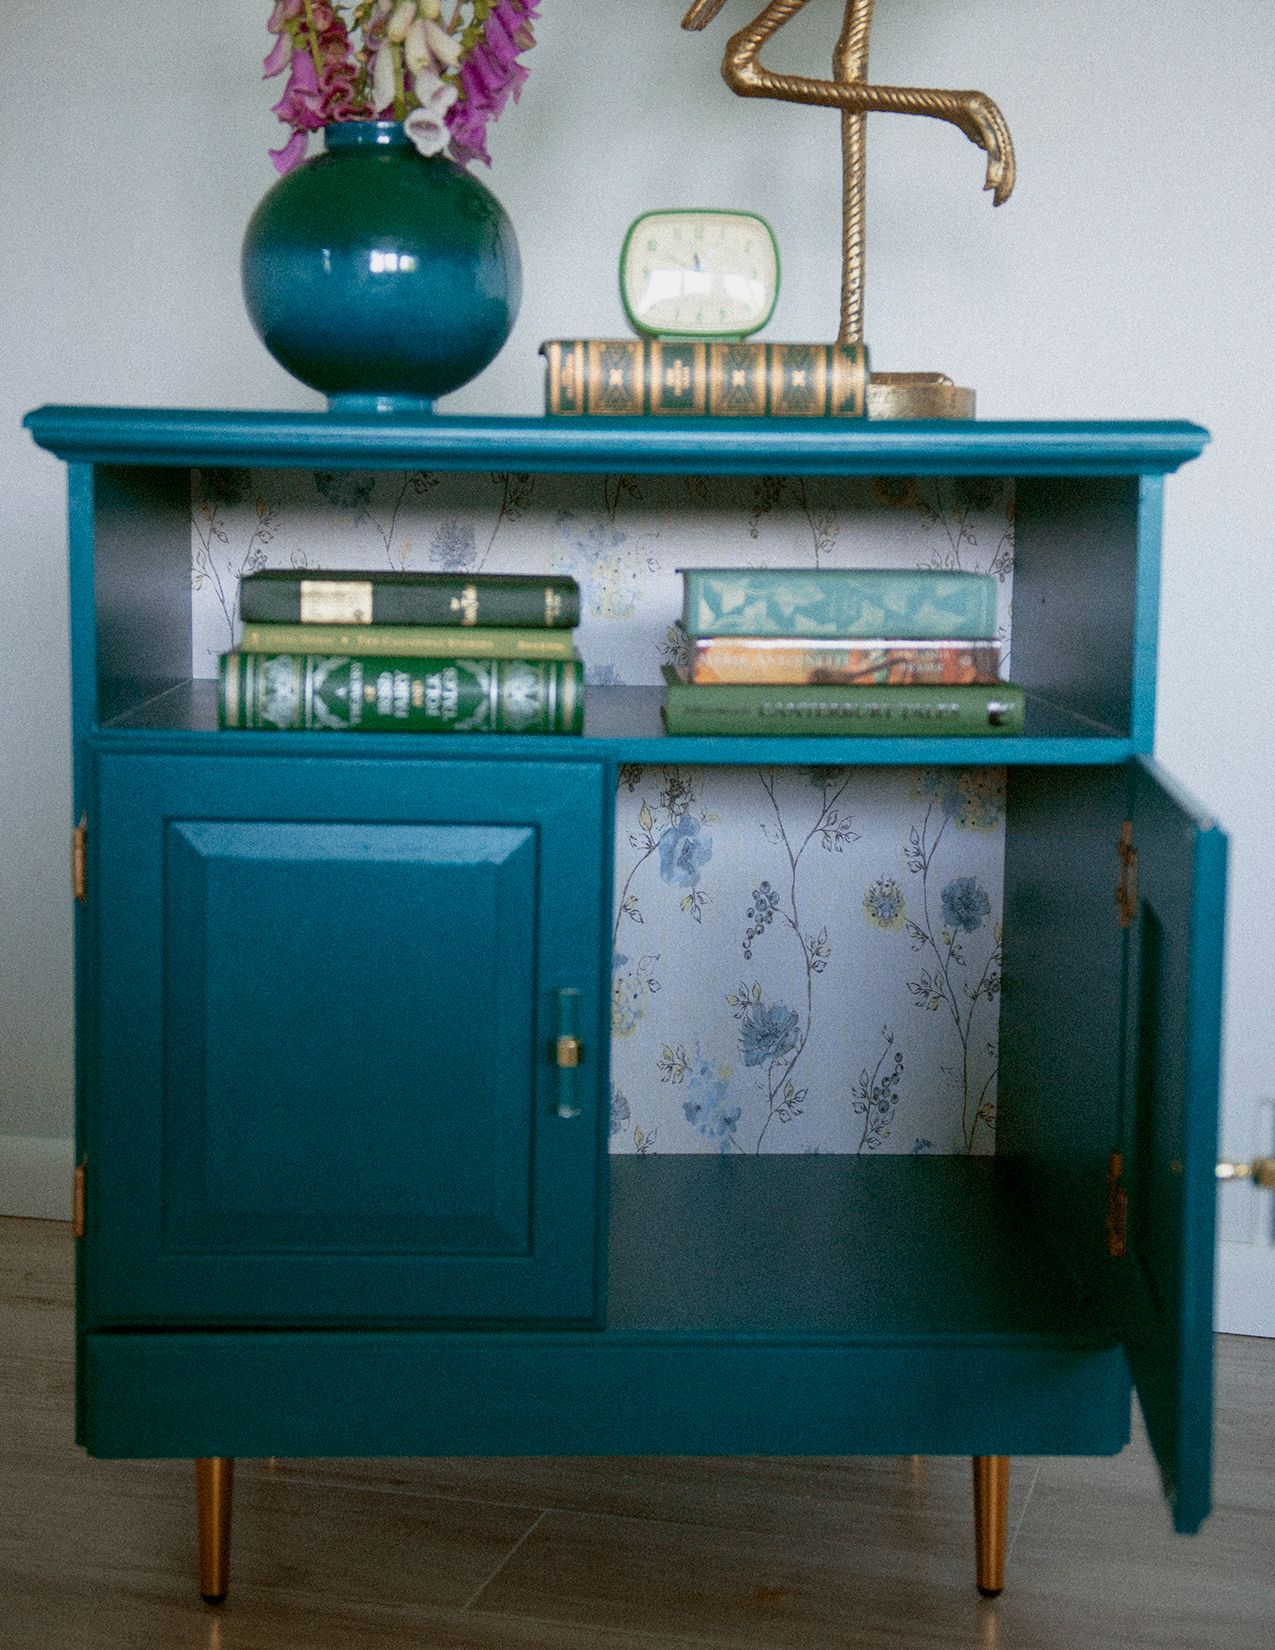
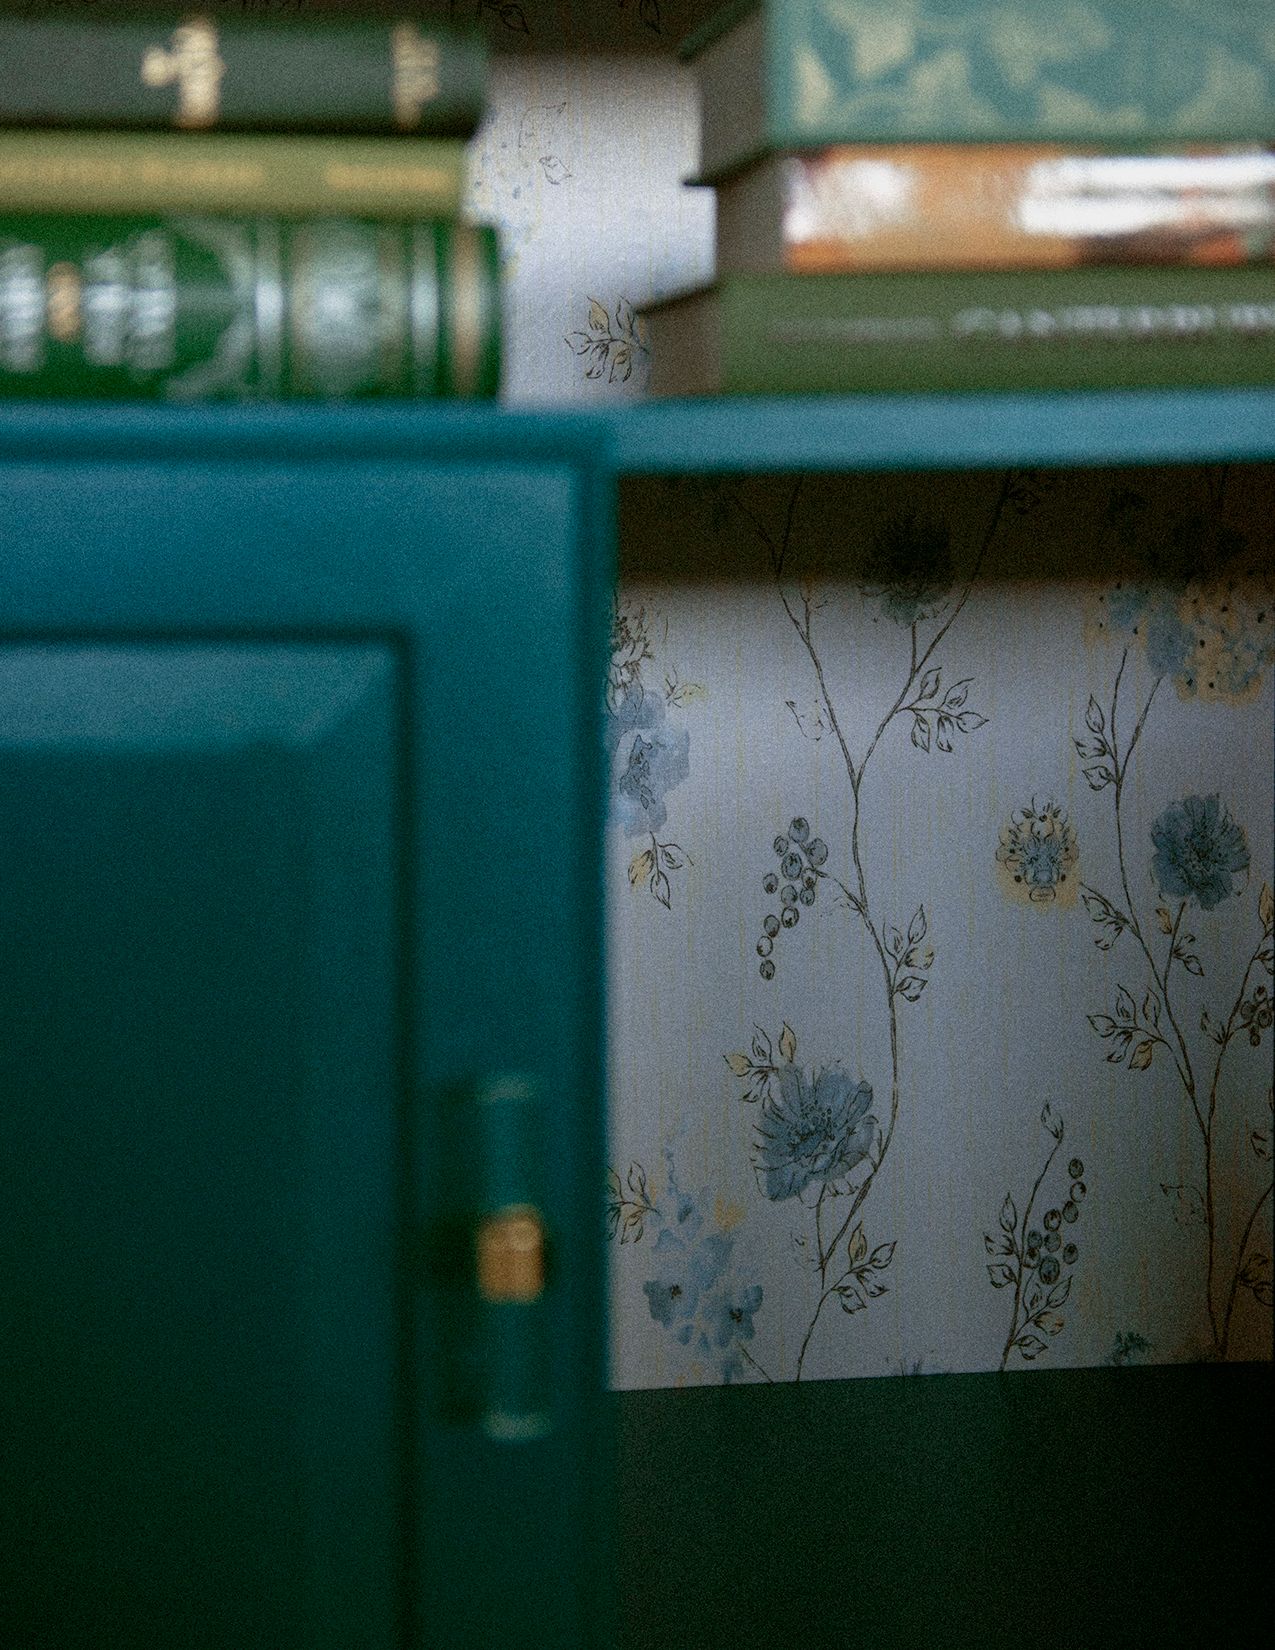
The legs I think were a bit expensive in price. I’ve learned that if you shop around you can find cheaper options. Then there’s the wallpaper. It looks good here and maybe you can’t really tell, but this cheap wallpaper doesn’t quite line up. The imperfect seam drives me bonkers.
Here were my steps.
Step 1:Get that thing squeaky clean! Get all those cobwebs and whatever you can find off. You’re technically going to sand and it probably won’t matter too much, but it helps me to work on a clean item.
Step 2: Remove all the hardware. You don’t want to work around it and it’s easier to work on the doors when they’re not attached.
Step 3: Sand, sand, sand! Every nook and cranny needs a good sanding so the paint will really stick.
Step 4: Fill the holes! I moved some hardware and there were some holes and funky corners, so I needed to make sure there was a totally smooth surface. I used plastic wood, which I already had at home. Same goes for all the tools I used. Give this a day to dry.
Step 5: Sand again on any parts where the filler is a bit rough.
Step 6: Clean again! Get every little bit of dust from sanding far away from your piece. I learned this the hard way. Squeaky frickin clean!
Step 7: It’s prime time! You absolutely need to prime your items first to make sure the paint stays. Let dry for a day.
Step 8: Apply your first coat of paint. This was a struggle for me. 1) I’m not very good at painting. 2) I did a terrible job of removing the sand. The surface was not the best. Oops! Let it dry one day.
Step 8: While you’re waiting for your paint to dry you can spray paint your hardware. When I say that I only mean the hinges and any visible nails.
Step 9: Coat two of paint, which I had to do three because I’m truly an awful painter. Let it dry for a day.
Step 10: While that’s drying, I cut my new board and added the wallpaper backing, which made me so angry when the wallpaper didn’t link up. It’s what I get for buying cheap wallpaper. When I’m better at this and feel confident I can sell my pieces, I’m for sure purchasing better wallpaper for these projects.
Step 11: Attach backing, reattach hardware and add new hardware. Then you have an adorable frickin end table!
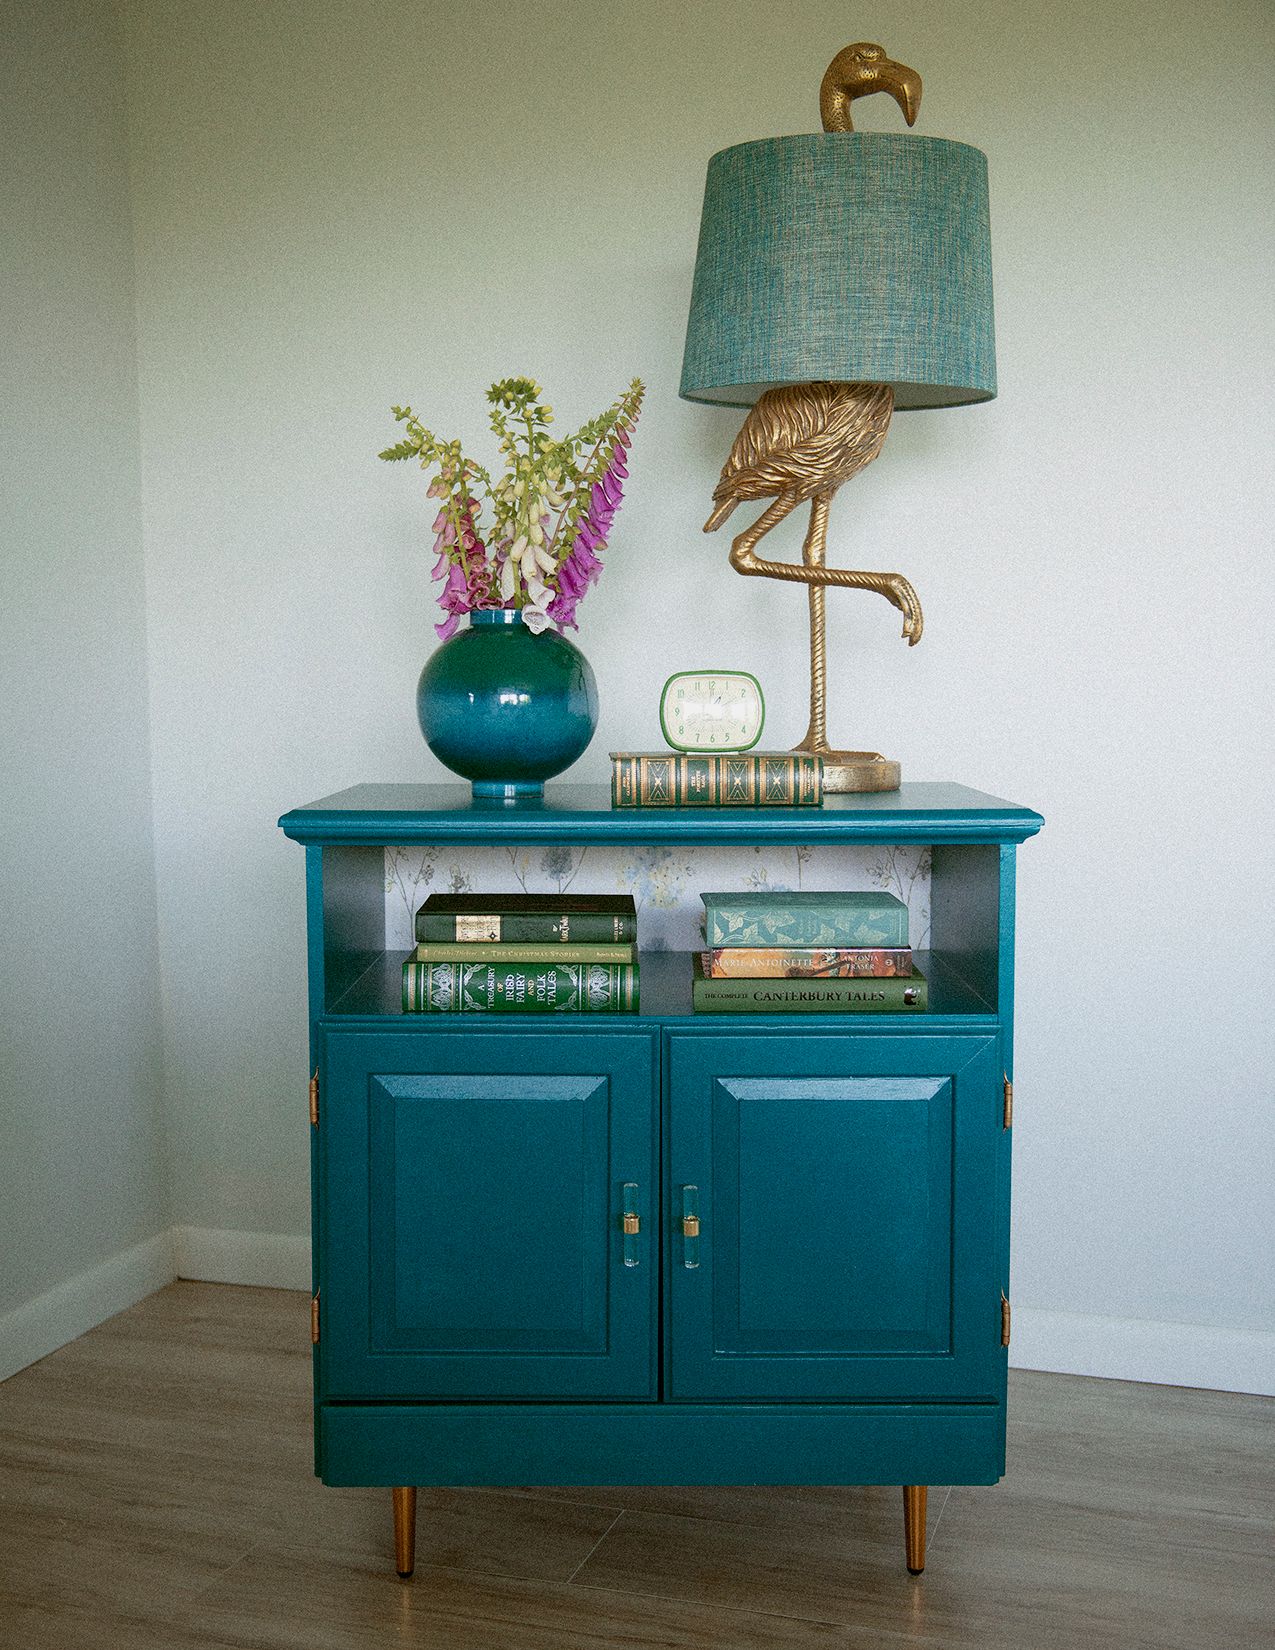
I hope this helped in some way. I wish I would have had a better breakdown of the volume of work before entering this upcycle project just so I knew what I was getting into. I love how it looks though. I don’t love the little imperfections. It’s a bit of a Monet. Just keep your distance and it’s the perfect little upcycled end table!
Processing your application
There was an error sending the email
Great!
Check your inbox and click the link to confirm your subscription